Travel Photography: How to Take Extraordinary Photos with Your Smartphone
The Best Camera is the One You Always Have With You
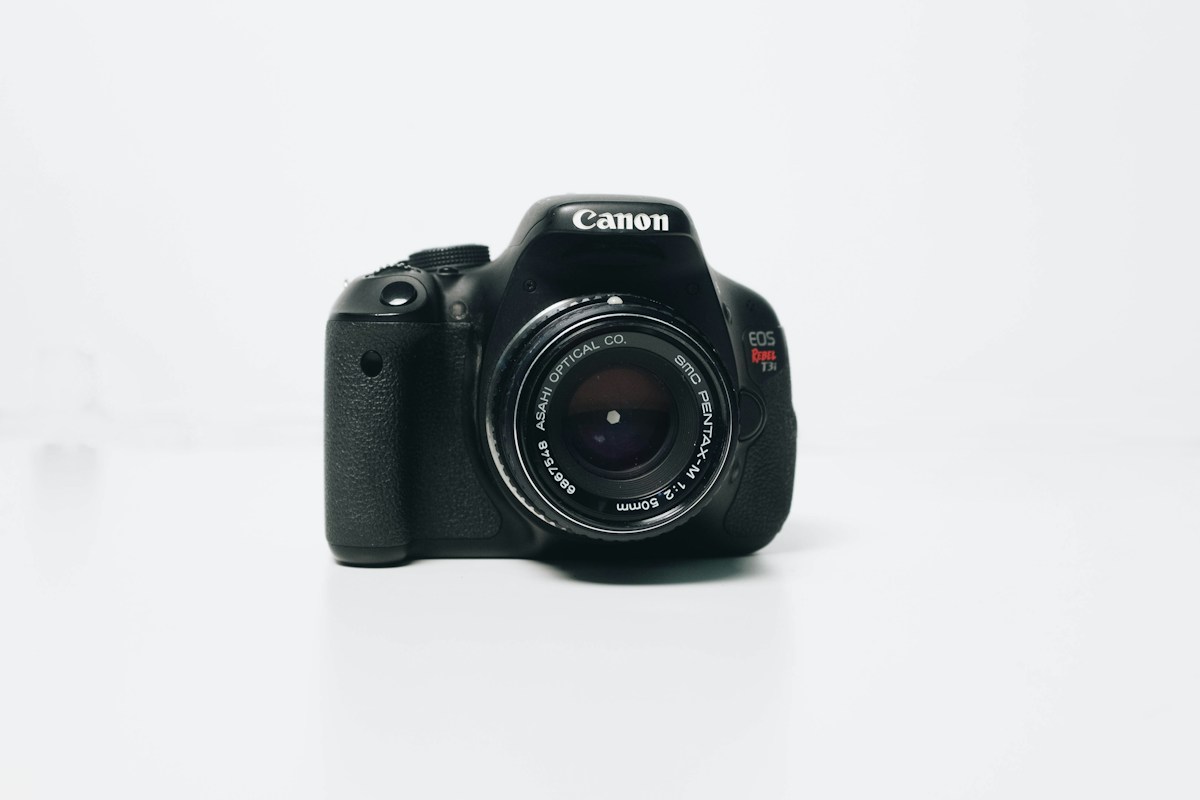
The era when you needed a DSLR to take great travel photos is over. Modern smartphones have sensors capable of capturing professional-quality images in almost all lighting conditions. The difference between a mediocre photo and an extraordinary one is almost never the camera: it is the photographer's eye, the chosen light, and the composition.
The Rule of Thirds (and When to Break It)
The rule of thirds is the foundation of photographic composition: divide the frame into a 3x3 grid and place the main subject on one of the four intersecting points instead of the center. This creates a natural visual tension that makes images more dynamic.
But rules are made to be broken consciously. A centered subject works perfectly for symmetrical photography (architecture, reflections) and close-up portraits. The key is understanding why the rule exists before ignoring it.
Light is Everything: Times and Directions
The two golden moments for photography are:
- Golden Hour: the 30-60 minutes after sunrise and before sunset. Warm, golden light, with long, soft shadows that give three-dimensional depth to any scene.
- Blue Hour: the 20-30 minutes before sunrise and after sunset. The sky becomes a natural diffuser of soft blue light, perfect for cityscapes and illuminated architecture.
The midday sun in summer is the worst time to shoot: it creates harsh, unflattering shadows on faces and flattens landscapes. If you must do it, look for shade or use the diffused light of a cloudy day (which is actually perfect for portraits).
5 Advanced Composition Techniques
- Leading lines: roads, tracks, handrails, canals – any line that leads the eye toward the main subject creates depth and movement
- Natural framing: use arches, windows, branches, or doors as natural frames to isolate the subject
- Symmetry and reflections: bodies of water, shiny surfaces, symmetrical architecture create instantly striking images
- Depth of field: smartphone portrait mode simulates background blur (bokeh) – use manual aperture control to decide how much to blur
- Unusual angles: lie on the ground, stand on a wall, look straight down. 90% of mediocre photos are taken at eye level
Editing: Less is More
The best smartphone editing apps are Lightroom Mobile (free) and Snapseed (free). Recommended workflow:
- Straighten the horizon (first of all)
- Correct exposure: expose for the highlights, then recover the shadows
- Slightly increase the contrast (blacks: -20, whites: +10)
- Add micro-contrast with clarity (+15-25)
- Saturation: selectively increase only the key colors of the image
- Light sharpening on output
The most common beginner mistake is oversaturating colors and blowing out the highlights. "Real" photos have rich (not pitch-black) shadows and bright (not blown-out) highlights.
The Mindset of a Travel Photographer
Technique is necessary but not sufficient. The most powerful photos are born from:
- Slowing down: don't photograph everything on the run. Sit down, observe the scene for 5 minutes, wait for the right moment
- Getting close to people: portraits of strangers are the most difficult but most exciting photos. A smile and a "may I?" in any language almost always work
- Returning to places: the best photographers go back to the same location at different times, in different weather, and in different seasons